If you’re looking for a powerful music production software that provides professional-level features for recording and producing music, Ableton Live is the right choice for you. One of the most popular features of Ableton Live is the ability to record with MIDI keyboard controllers. This article will provide you with a step-by-step guide on how to record with a MIDI keyboard controller in Ableton Live 11.
Getting Started
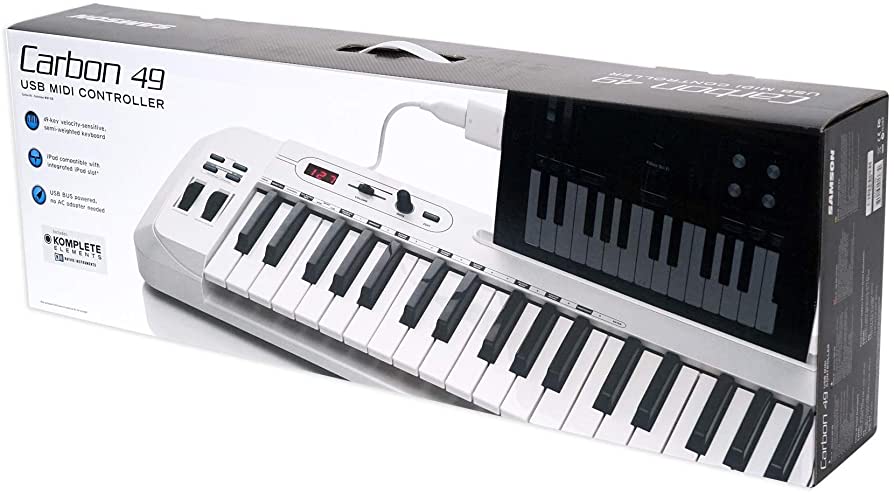
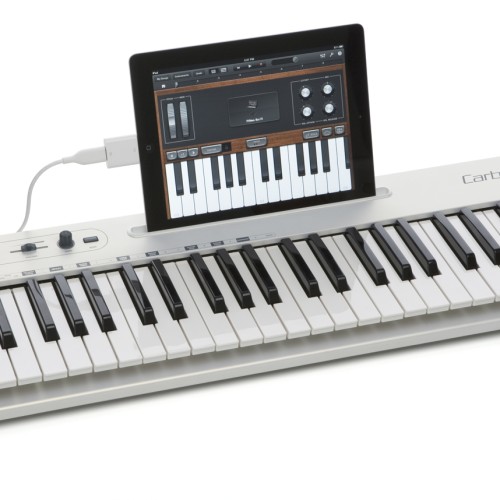
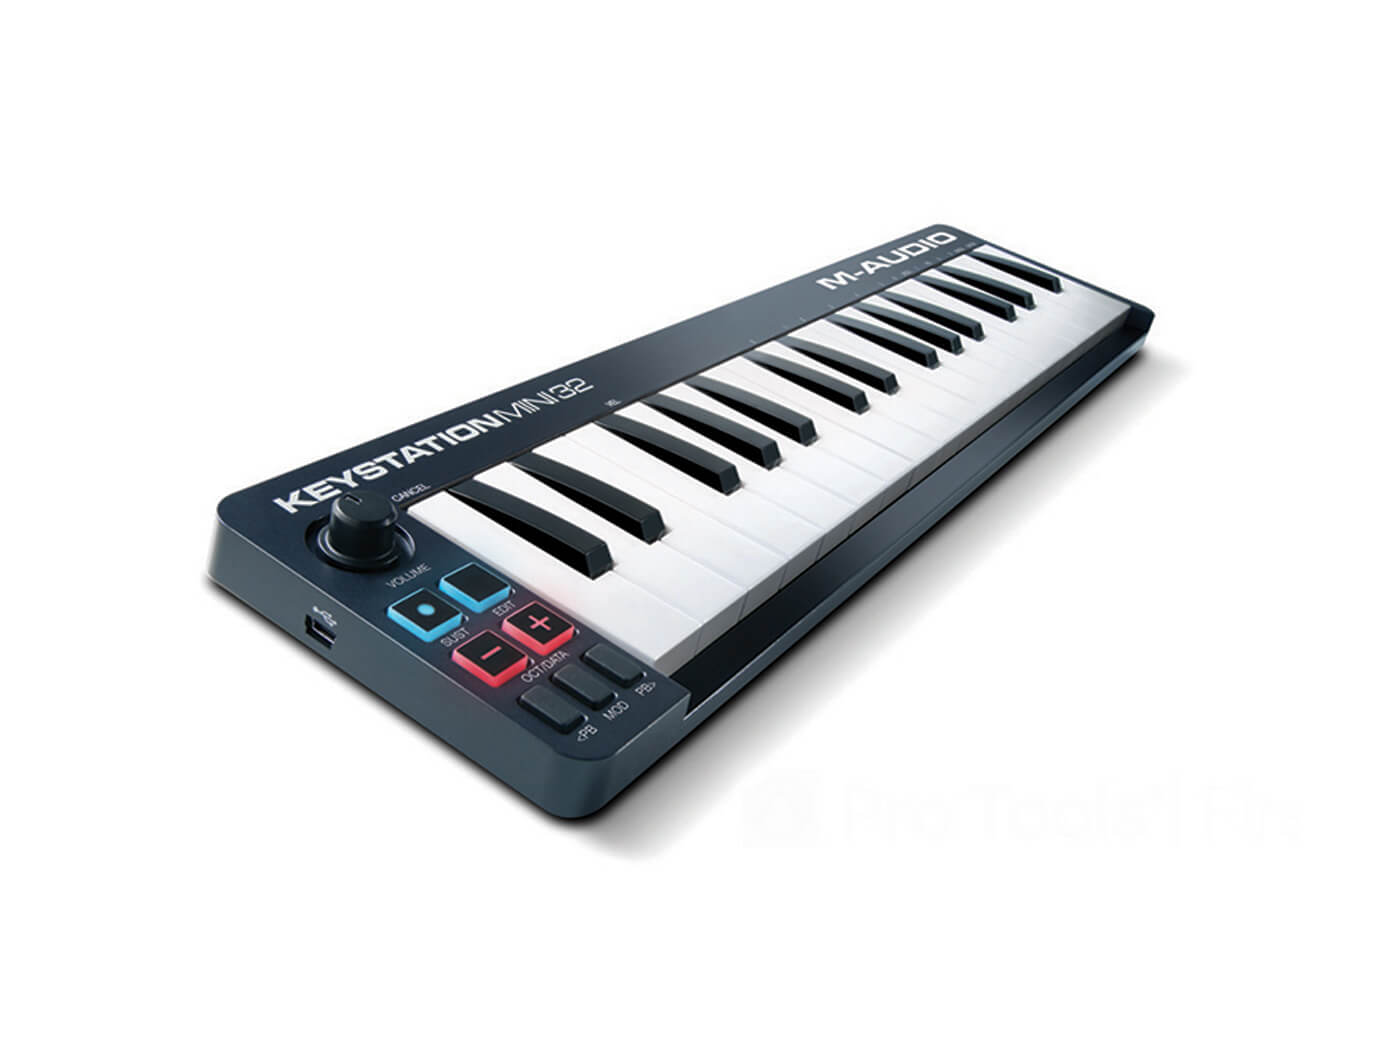
Before we begin, make sure that you have a MIDI keyboard controller that is compatible with Ableton Live 11. Connect your MIDI keyboard controller to your computer using a USB cable. Once connected, launch Ableton Live 11 and create a new project.

Setting Up MIDI Input
The first step in recording with a MIDI keyboard controller in Ableton Live 11 is to set up the MIDI input. To do this, follow these steps:
Open the Preferences Window
Click on the “Options” menu in the top left corner of the Ableton Live window and select “Preferences.”
Select the MIDI Tab
In the Preferences window, click on the “MIDI” tab.
Select Your MIDI Keyboard Controller
Under “Input,” select your MIDI keyboard controller from the list of available MIDI devices.
Enable the MIDI Input
Make sure that the “Track” and “Remote” buttons are enabled for your MIDI keyboard controller. This will allow you to use your MIDI keyboard controller to control Ableton Live.
Recording MIDI
Once you have set up the MIDI input, you can start recording MIDI in Ableton Live 11. To do this, follow these steps:
Create a MIDI Track
Click on the “Create” button in the bottom right corner of the Ableton Live window and select “MIDI Track.”
Arm the MIDI Track
Click on the “Arm” button on the MIDI track you just created. This will enable the track for recording.
Start Recording
Press the “Record” button in the top transport bar to start recording. Play some notes on your MIDI keyboard controller, and Ableton Live will record them.
Stop Recording
When you’re finished recording, press the “Stop” button in the top transport bar.
Editing MIDI
After you have recorded MIDI in Ableton Live 11, you can edit it to your liking. To edit MIDI, follow these steps:
1: Select the MIDI Clip
Click on the MIDI clip you just recorded to select it.
2: Enter MIDI Editing Mode
Press the “Tab” key on your keyboard to enter MIDI editing mode.
3: Edit the MIDI
You can now edit the MIDI notes by clicking and dragging them to different pitches or positions on the timeline.

FAQs
Q: Do I need a MIDI keyboard controller to record MIDI in Ableton Live 11?
A: No, you can also use a computer keyboard or a mouse to input MIDI notes.
Q: Can I use multiple MIDI keyboard controllers with Ableton Live 11?
A: Yes, you can set up multiple MIDI devices in the Preferences window.
Q: Can I record audio in Ableton Live 11?
A: Yes, Ableton Live 11 has powerful audio recording capabilities.
Q: Can I quantize MIDI notes in Ableton Live 11?
A: Yes, Ableton Live 11 has powerful MIDI editing tools, including the ability to quantize MIDI notes.
Q: Can I use Ableton Live 11 to control external hardware synthesizers?
A: Yes, Ableton Live 11 has the ability to send and receive MIDI messages to and from external hardware synthesizers.
Conclusion
Recording with a MIDI keyboard controller in Ableton Live 11 is a simple and effective way to create professional-sounding music. By following the steps outlined in this article, you’ll be able to record, edit, and produce your own music with ease.

